Self-hosted (On-premise or Cloud) Runners
GitHub Actions, GitLab CI/CD, and Bitbucket Pipelines workflows are executed on "native" runners (hosted by GitHub/GitLab/Bitbucket respectively) by default. However, there are many great reasons to use your own runners: to take advantage of GPUs, orchestrate your team's shared computing resources, or train in the cloud.
Allocating Cloud Compute Resources with CML
When a workflow requires computational resources (such as GPUs), CML can
automatically allocate cloud instances using cml runner. You can spin up
instances on AWS, Azure, GCP, or Kubernetes
(see below). Alternatively, you can
connect
any other compute provider or on-premise (local) machine.
For example, the following workflow deploys a p2.xlarge instance on AWS EC2
and trains a model on the instance. After the job runs, the instance
automatically shuts down.
You might notice that this workflow is quite similar to the
basic use case. The only addition is cml runner and a few
environment variables for passing your cloud compute credentials to the
workflow.
Note that cml runner will also automatically restart your jobs (whether from a
GitHub Actions 35 day workflow timeout
or an
AWS EC2 spot instance interruption).
name: CML
on: [push]
jobs:
launch-runner:
runs-on: ubuntu-latest
steps:
- uses: iterative/setup-cml@v1
- uses: actions/checkout@v3
- name: Deploy runner on EC2
env:
REPO_TOKEN: ${{ secrets.PERSONAL_ACCESS_TOKEN }}
AWS_ACCESS_KEY_ID: ${{ secrets.AWS_ACCESS_KEY_ID }}
AWS_SECRET_ACCESS_KEY: ${{ secrets.AWS_SECRET_ACCESS_KEY }}
run: |
cml runner launch \
--cloud=aws \
--cloud-region=us-west \
--cloud-type=p2.xlarge \
--labels=cml-gpu
train-and-report:
needs: launch-runner
runs-on: [self-hosted, cml-gpu]
timeout-minutes: 50400 # 35 days
container:
image: docker://iterativeai/cml:0-dvc2-base1-gpu
options: --gpus all
steps:
- uses: actions/checkout@v3
- name: Train model
env:
REPO_TOKEN: ${{ secrets.PERSONAL_ACCESS_TOKEN }}
run: |
pip install -r requirements.txt
python train.py # generate plot.png
# Create CML report
cat metrics.txt >> report.md
echo '' >> report.md
cml comment create report.mdlaunch-runner:
image: iterativeai/cml:0-dvc2-base1
script:
- |
cml runner launch \
--cloud=aws \
--cloud-region=us-west \
--cloud-type=p2.xlarge \
--cloud-spot \
--labels=cml-gpu
train-and-report:
needs: [launch-runner]
tags: [cml-gpu]
image: iterativeai/cml:0-dvc2-base1-gpu
script:
- pip install -r requirements.txt
- python train.py # generate plot.png
# Create CML report
- cat metrics.txt >> report.md
- echo '' >> report.md
- cml comment create report.mdpipelines:
default:
- step:
image: iterativeai/cml:0-dvc2-base1
script:
- |
cml runner launch \
--cloud=aws \
--cloud-region=us-west \
--cloud-type=m5.2xlarge \
--cloud-spot \
--labels=cml.runner
- step:
runs-on: [self.hosted, cml.runner]
image: iterativeai/cml:0-dvc2-base1
# GPU not yet supported, see https://github.com/iterative/cml/issues/1015
script:
- pip install -r requirements.txt
- python train.py # generate plot.png
# Create CML report
- cat metrics.txt >> report.md
- echo '' >> report.md
- cml comment create report.mdIn the workflow above, the launch-runner job launches an EC2 p2.xlarge
instance in the us-west region. The train-and-report job then runs on the
newly-launched instance. See Environment Variables
below for details on the secrets required.
Docker Images
The CML Docker images (docker://iterativeai/cml or
docker://ghcr.io/iterative/cml) come loaded with Python, CUDA, git, node
and other essentials for full-stack data science. Different versions of these
essentials are available from different iterativeai/cml image tags. The tag
convention is {CML_VER}-dvc{DVC_VER}-base{BASE_VER}{-gpu}:
{BASE_VER} | Software included (-gpu) |
|---|---|
| 0 | Ubuntu 18.04, Python 2.7 (CUDA 10.1, CuDNN 7) |
| 1 | Ubuntu 20.04, Python 3.8 (CUDA 11.0.3, CuDNN 8) |
For example, docker://iterativeai/cml:0-dvc2-base1-gpu, or
docker://ghcr.io/iterative/cml:0-dvc2-base1.
Using your own custom Docker images: To use commands such as
cml comment create, make sure to
install CML in your Docker image.
Options
The cml runner command supports many options (see the
command reference). Notable options are:
--labels=<...>: One or more (comma-delimited) labels (e.g.cml,gpu).--idle-timeout=<seconds>: Seconds to wait for jobs before terminating.--single: Terminate runner after one workflow run.--reuse: Don't launch a new runner if an existing one has the same name or overlapping labels.--cloud={aws,azure,gcp,kubernetes}: Cloud compute provider to host the runner.--cloud-type={m,l,xl,m+k80,m+v100,...}: Instance type. Also accepts native types such ast2.micro.--cloud-gpu={nogpu,k80,v100,tesla}: GPU type.--cloud-hdd-size=<...>: Disk storage in GB.--cloud-spot: Request a preemptible spot instance.--cloud-spot-price=<...>: Maximum spot instance USD bidding price.--cloud-region={us-west,us-east,eu-west,eu-north,...}: Region where the instance is deployed. Also accepts native AWS/Azure region or GCP zone.--cloud-permission-set=<...>: AWS instance profile or GCP instance service account.
Check out the full cml runner command reference.
Environment Variables
Sensitive values like cloud and repository credentials can be provided through environment variables with the aid of GitHub secrets, GitLab masked variables (or external secrets for added security), or Bitbucket secured user-defined variables.
You will need to create a personal access token (PAT)
with enough permissions to register self-hosted runners. In the GitHub example
workflow above, this token is stored as PERSONAL_ACCESS_TOKEN.
If using the --cloud option, you will also need to provide
access credentials for your cloud compute resources
as secrets (AWS_ACCESS_KEY_ID and AWS_SECRET_ACCESS_KEY in the above
example).
Personal Access Token
This token serves as a repository access credential, and is especially required
for cml runner to function.
Use either:
- a
personal access token
with the
reposcope, or - a GitHub App with the appropriate permissions (see below)
Ideally, you should not use personal access tokens from your own account, as they grant access to all your repositories. Instead, it's highly recommended to create a separate bot account that only has access to the repositories where you plan to deploy runners to. Bot accounts are the same as normal user accounts, with the only difference being the intended use case.
PAT
For instance, to use a personal access token:
- Generate a new personal access token
under GitHub developer settings
- in the "Note" field, type
PERSONAL_ACCESS_TOKEN - select
reposcope - click "Generate token" and copy it
- in the "Note" field, type
- In your GitHub repository and/or organization, navigate to Settings
→ Secrets → New repository/organization secret
- in the "Name" field, type
PERSONAL_ACCESS_TOKEN - in the "Value" field, paste the token
- click "Add secret"
- in the "Name" field, type
Step 2 can also be used for adding other secrets such as cloud access credentials.
App
Alternatively, a GitHub App ID (CML_GITHUB_APP_ID) and private key
(CML_GITHUB_APP_PEM) can be used to generate a token on-the-fly, as shown in
the example below:
steps:
  - uses: navikt/github-app-token-generator@v1
    id: get-token
    with:
      private-key: ${{ secrets.CML_GITHUB_APP_PEM }}
      app-id: ${{ secrets.CML_GITHUB_APP_ID }}
  - uses: actions/checkout@v3
      token: ${{ steps.get-token.outputs.token }}
  - name: Train model
    env:
      REPO_TOKEN: ${{ steps.get-token.outputs.token }}
    run: |
      ...
      cml comment create report.md
Note that the Apps require the following write permissions:
- Repository permissions (if used on a per-repo basis)
- Administration (
cml runner) - Checks (
cml check) - Pull requests (
cml {pr,comment})
- Administration (
- Organization permissions (if used on an org)
- Self-hosted runners (
cml runner)
- Self-hosted runners (
Use either:
- a
personal access token
with the
api,read_repositoryandwrite_repositoryscopes, or - a project access token. This only works for project-level (specific), but not for instance-level (shared) runners. Ensure that the token is assigned at least the "Developer" role.
For instance, to use a personal access token:
-
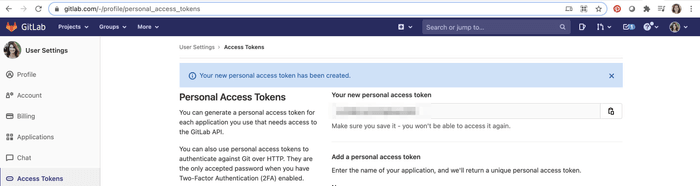
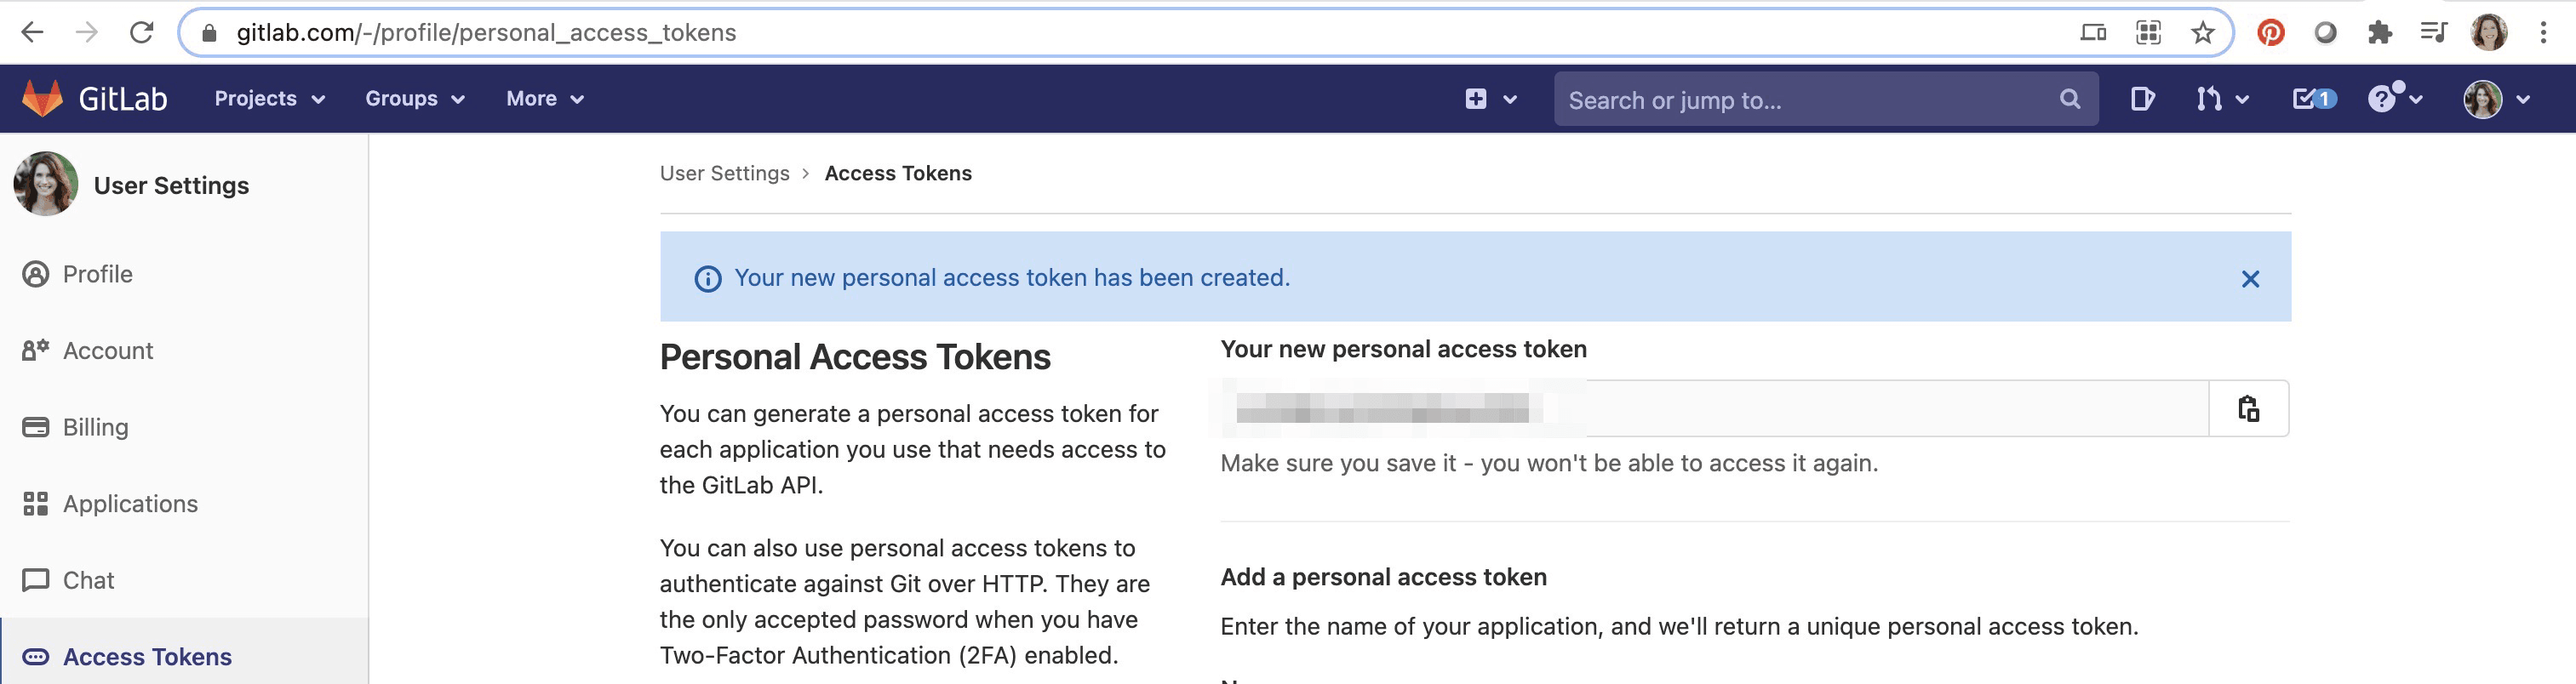
Navigate to User Settings → Access Tokens
- in the "Name" field, type
REPO_TOKEN - select
api,read_repositoryandwrite_repository - click "Create personal access token" and copy it
- in the "Name" field, type
-
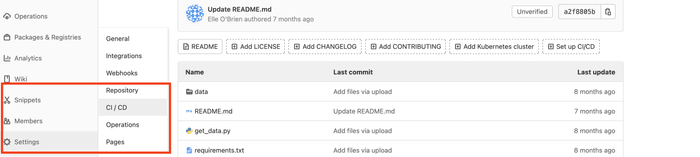
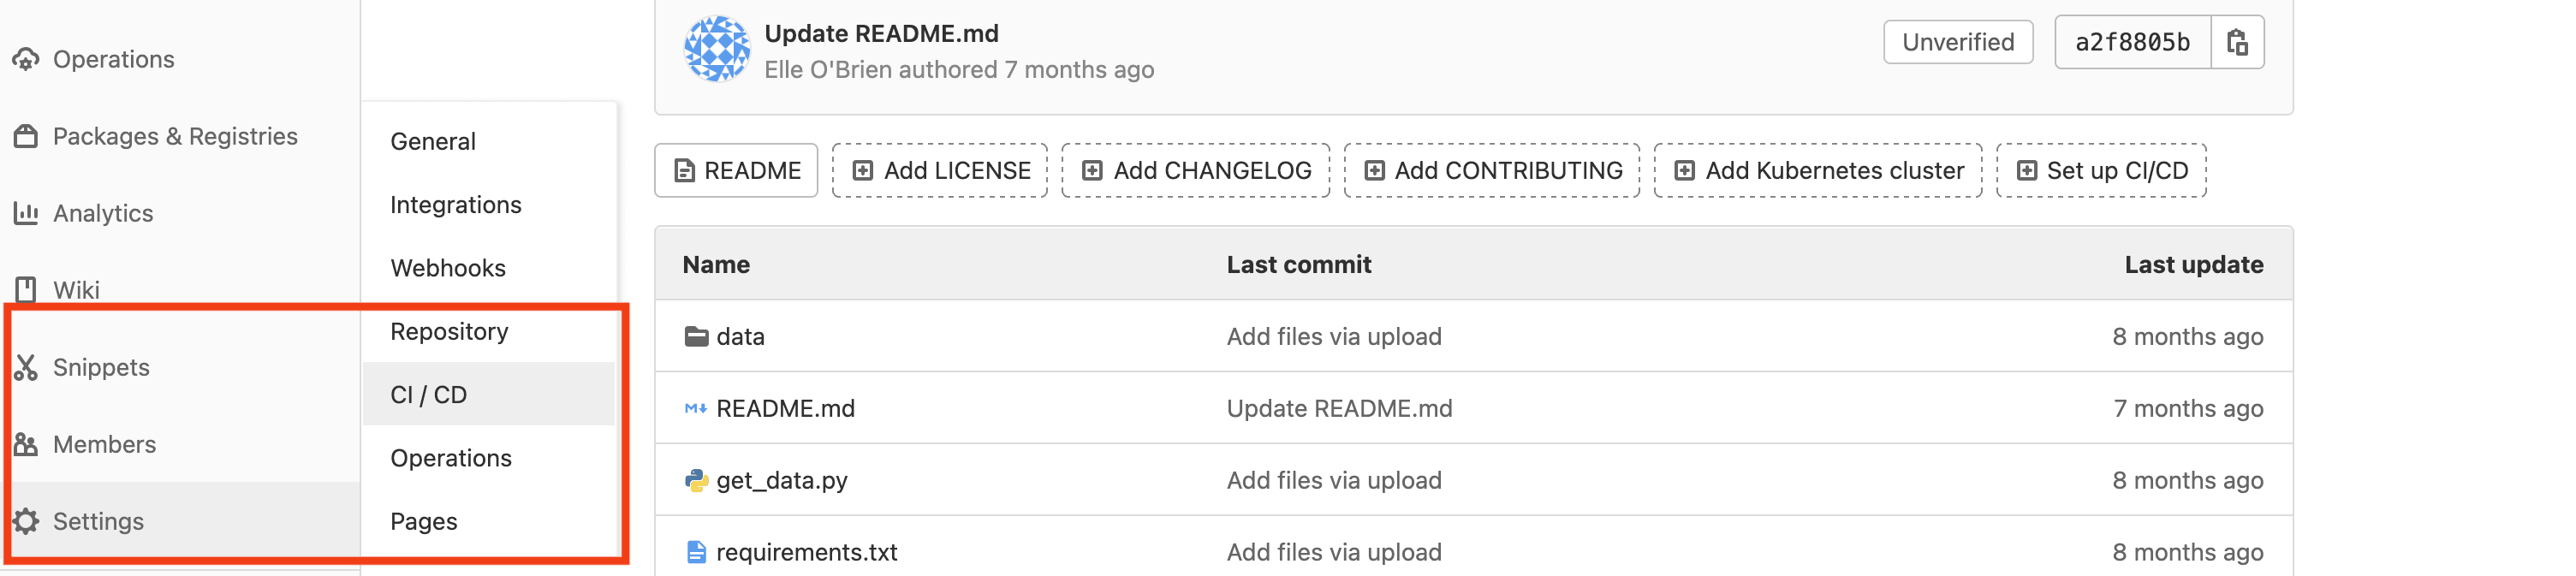
In your GitLab project, navigate to Settings → CI/CD → Variables → Add Variable
- in the "Key" field, type
REPO_TOKEN - in the "Value" field, paste your Personal Access Token
- select "Mask variable"
- deselect "Protect variable"
- click "Add variable" at the bottom of the dialog box
- in the "Key" field, type
Step 2 can also be used for adding other masked variables such as cloud access credentials.
Bitbucket Cloud does not use access tokens. Instead, create a REPO_TOKEN
variable with a Base64 encoded username and password.
Use either:
- your username and a
Bitbucket Cloud App Password
with
Readpermission for Account andWritepermission for Pull requests, Pipelines, and Runners, or - create a designated "CI/CD" bot account for CML authentication. Bot accounts are the same as normal user accounts, with the only difference being the intended use case: you limit the account to only access the repositories where you plan to deploy runners to.
In either case, the steps to create a REPO_TOKEN are:
- Use a Base64 encoder of your choice to encode a Bitbucket username and
password:
echo -n $USERNAME:$PASSWORD | base64. The-nensures the base64 does not contain the trailing newline thatechoadds by default.- copy the resulting Base64 token
- In your repository, go to Repository Settings → Repository
Variables
- in the "Name" field, type
REPO_TOKEN - in the "Value" field, paste the Base64 token
- select
Securedto hide credentials in all Bitbucket logs
- in the "Name" field, type
Step 2 can also be used for adding other secured variables such as cloud access credentials.
Cloud Compute Resource Credentials
Note that you will also need to provide access credentials of your compute
resources. In the above example, AWS_ACCESS_KEY_ID and AWS_SECRET_ACCESS_KEY
are required to deploy EC2 instances.
Click below to see credentials needed for supported compute providers.
AWS_ACCESS_KEY_IDAWS_SECRET_ACCESS_KEYAWS_SESSION_TOKEN(optional)
See the AWS credentials docs for obtaining these keys.
AZURE_CLIENT_IDAZURE_CLIENT_SECRETAZURE_SUBSCRIPTION_IDAZURE_TENANT_ID
Either one of:
GOOGLE_APPLICATION_CREDENTIALS_DATA: the contents of a service account JSON file, orGOOGLE_APPLICATION_CREDENTIALS: the path to the JSON file.
The former is more convenient for CI/CD scenarios, where secrets are (usually) provisioned through environment variables instead of files.
KUBERNETES_CONFIGURATION: the contents of akubeconfigfile.
The same credentials can also be used for configuring cloud storage.
GitLab CI/CD and container images from private registries
See also the GitLab documentation for more information.
GitLab CI/CD Environment Variables
| Name | Value |
|---|---|
DOCKER_AUTH_CONFIG | {"credHelpers": {"ACCOUNT.dkr.ecr.REGION.amazonaws.com": "ecr-login"}} |
AWS_ACCESS_KEY_ID | AWS access key identifier |
AWS_SECRET_ACCESS_KEY | AWS secret access key |
AWS_SESSION_TOKEN | AWS session token (optional) |
REPO_TOKEN | GitLab Personal Access Token |
.gitlab-ci.yml
runner:
  when: always
  image: iterativeai/cml
  script:
    - cml runner --labels=cml --cloud=aws

job:
  tags: [cml]
  needs: [runner]
  image: ACCOUNT.dkr.ecr.REGION.amazonaws.com/REPOSITORY:TAG
  script:
    - echo succeeded
Replace the ACCOUNT, REGION, REPOSITORY and TAG placeholders with
appropriate values.
GitLab CI/CD Environment Variables
| Name | Value |
|---|---|
DOCKER_AUTH_CONFIG | {"credHelpers": {"LOCATION-docker.pkg.dev": "gcr"}} |
GOOGLE_APPLICATION_CREDENTIALS_DATA | Contents of a Google Cloud service account JSON key file |
REPO_TOKEN | GitLab Personal Access Token |
.gitlab-ci.yml
runner:
  when: always
  image: iterativeai/cml
  script:
    - cml runner --labels=cml --cloud=gcp --cloud-permission-set="$(printenv
      GOOGLE_APPLICATION_CREDENTIALS_DATA | jq
      .client_email),scopes=storage-ro,datastore"

job:
  tags: [cml]
  needs: [runner]
  image: LOCATION-docker.pkg.dev/PROJECT/REPOSITORY/IMAGE:TAG
  script:
    - echo succeeded
Replace the
LOCATION,
PROJECT, REPOSITORY, IMAGE and TAG placeholders with appropriate values.
This example uses the new
Artifact Registry (i.e. any of the
LOCATION-docker.pkg.dev domains) instead of the old Container Registry (i.e.
the gcr.io domain) but instructions are similar for both.
On-premise (Local) Runners
The cml runner command can also be used to manually set up a local machine,
on-premise GPU cluster, or any other cloud compute resource as a self-hosted
runner. To do this:
- remove the
cml runner launch ... --cloud=aws --labels=cml-gpucommand from your CI workflow - install CML on your local machine, and run:
$ cml runner launch \
  --repo="$REPOSITORY_URL" \
  --token="$PERSONAL_ACCESS_TOKEN" \
  --labels="cml-gpu" \
  --idle-timeout="never"  # or "3min", "1h", etc..
Your machine will wait for and run CI jobs from your repository (note that the
--cloud option is removed).
If your CI workflow uses a Docker image, you will need to have Docker
installed on your local machine. The CML runner will automatically pull images
onto your local machine and run workflows in temporary containers.
Debugging
If cml runner fails with a Terraform error message, setting the environment
variable TF_LOG_PROVIDER=DEBUG may yield more information.
In very rare cases, you may need to clean up CML cloud resources manually. An example of such a problem can be seen when an EC2 instance ran out of storage space.
The following is a list of all the resources you may need to manually clean up in the case of a failure:
- The running instance (named with pattern
cml-{random-id}) - The volume attached to the running instance (this should delete itself after terminating the instance)
- The generated key-pair (named with pattern
cml-{random-id})
If you encounter these edge cases create a GitHub Issue with as much detail as possible. If possible link your workflow in the issue or provide an example of your workflow's YAML.
Additionally, try to capture and include logs from the instance:
For easy local access and debugging on the cml runner instance
check our example on using the --cloud-startup-script option.
Then you can run the following:
$ ssh ubuntu@instance_public_ip
$ sudo journalctl -n all -u cml.service --no-pager > cml.log
$ sudo dmesg --ctime > system.log
Please check your cml.log and censor potentially sensitive entries (e.g. IP
addresses and Git repository names).
You can then copy those logs to your local machine with:
$ scp ubuntu@instance_public_ip:~/cml.log .
$ scp ubuntu@instance_public_ip:~/system.log .
There is a chance that the instance could be severely broken if the SSH command hangs ��— if that happens reboot it from the web console and try the commands again.