Get Started with CML on Bitbucket
Here, we'll walk through a tutorial to start using CML with Bitbucket Pipelines.
-
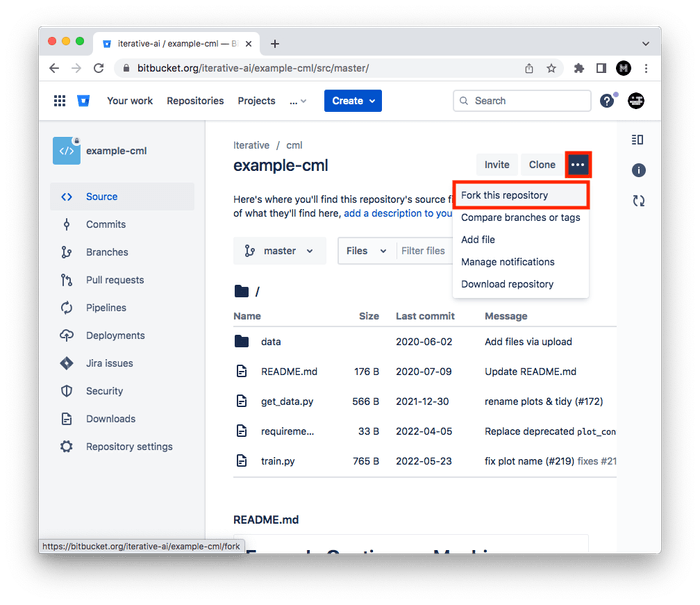
Fork our example project repository.
-
⚠️ Follow these instructions to configure a Bitbucket token for CML.
-
⚠️ Follow these instructions to enable the Pull Request Commit Links application.
The following steps can all be done in the Bitbucket browser interface. However, to follow along the commands, we recommend cloning your fork to your local workstation:
$ git clone https://bitbucket.org/<your-username>/example-cml-
To create a CML workflow, copy the following into a new file named
bitbucket-pipelines.ymlon yourmasterbranch:image: iterativeai/cml:0-dvc2-base1 pipelines: default: - step: name: Train model script: - pip install -r requirements.txt - python train.py # generate plot.png # Create CML report - cat metrics.txt >> report.md - echo '' >> report.md - cml comment create report.md -
In your text editor, open
train.pyand modify line 15 todepth = 5. -
Commit and push the changes:
$ git checkout -b experiment $ git add . && git commit -m "modify forest depth" $ git push origin experiment -
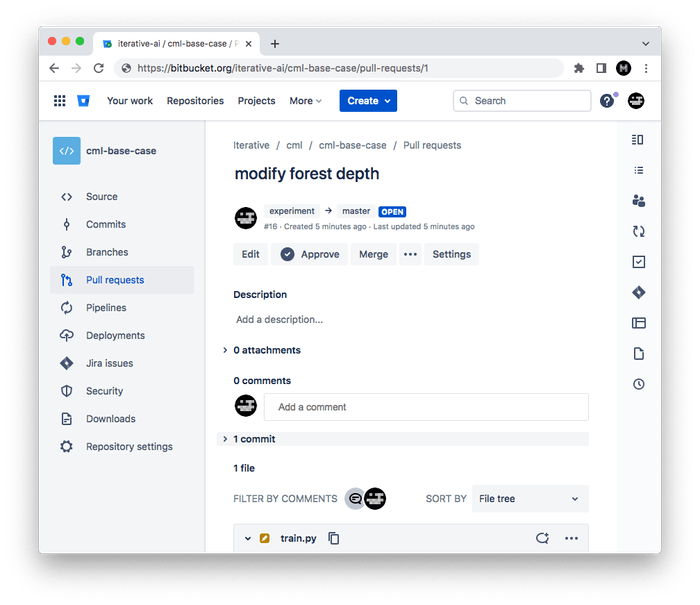
In Bitbucket, create a Pull Request to compare the
experimentbranch tomaster.Ensure the target is your fork (under your username).
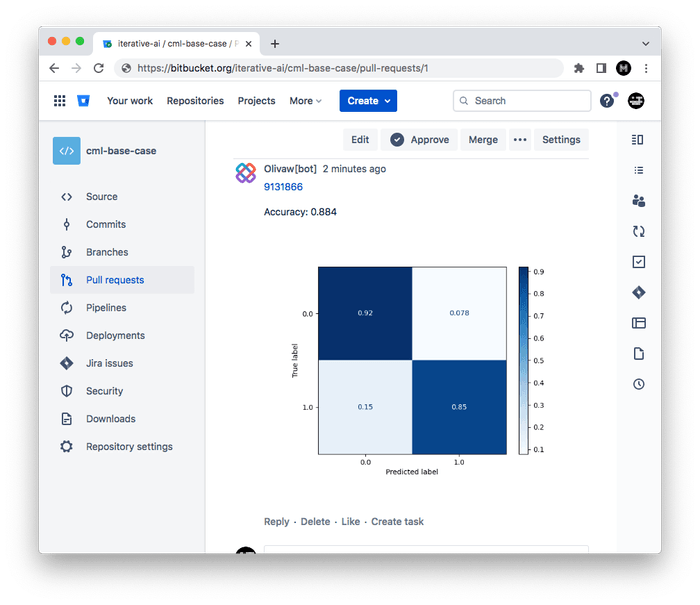
Shortly, you should see a comment appear in the Pull Request with your CML report. This is a result of the
cml comment createcommand in your workflow.
This is the gist of the CML workflow: when you push changes to your Bitbucket
repository, the workflow in your bitbucket-pipelines.yml file gets run and a
report generated.
CML commands let you display relevant results from the workflow, like model performance metrics and visualizations, in Bitbucket checks and comments. What kind of workflow you want to run, and want to put in your CML report, is up to you.
Final Solution
An example of what your repository should look like now can be found at
iterative-ai/cml-base-case.


